
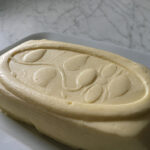

Garlic butter
Roasting the garlic is essential to get the flavour of garlic without being overpowering.Ideally roast the garlic bulbs while you are cooking baking something else
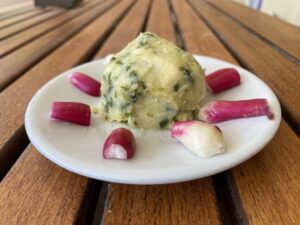
Herb butter (rosemary, oregano etc)
This is a template recipe that you can choose herbs that suit you. I often use rosemary or oregano flowers
Cheese Scones
Check out this recipe

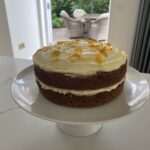
Carrot Cake
Check out this recipe
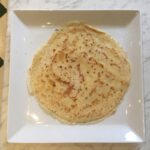
Traditional Pancakes
Check out this recipe
Soda Bread
Check out this recipe